Password Protecting Your Presentations
Looking to lock-down your PowerPoint presentation? Here’s the low-down to show you how to easily safeguard and add password protection to those sensitive slides.
An incredible presentation doesn’t just sit quietly on a shelf – it demands to be unleashed. We dedicate ourselves to crafting killer PowerPoints for your enjoyment, and the enjoyment of your audience, but sometimes you need to keep things private.
Got a presentation teeming with confidential info, or one that’s exclusively tailored for select eyes? You need to think about password protecting that presentation. It’s safe and sound on your device, secure behind your swanky biometric systems. But what about when you hit send on that email?
Emails are hacked, misread or sometimes blasted to a bunch of unintended recipients. That precious presentation, filled to the brim with all your top-secret stuff, could slip through your fingers.
Setting a password: your PowerPoint’s personal bodyguard
Fear not, PowerPoint’s got your back. There’s a nifty little built-in password feature. Enable this and nobody’s getting in without the secret code.
Here’s how to set a password on a PC:
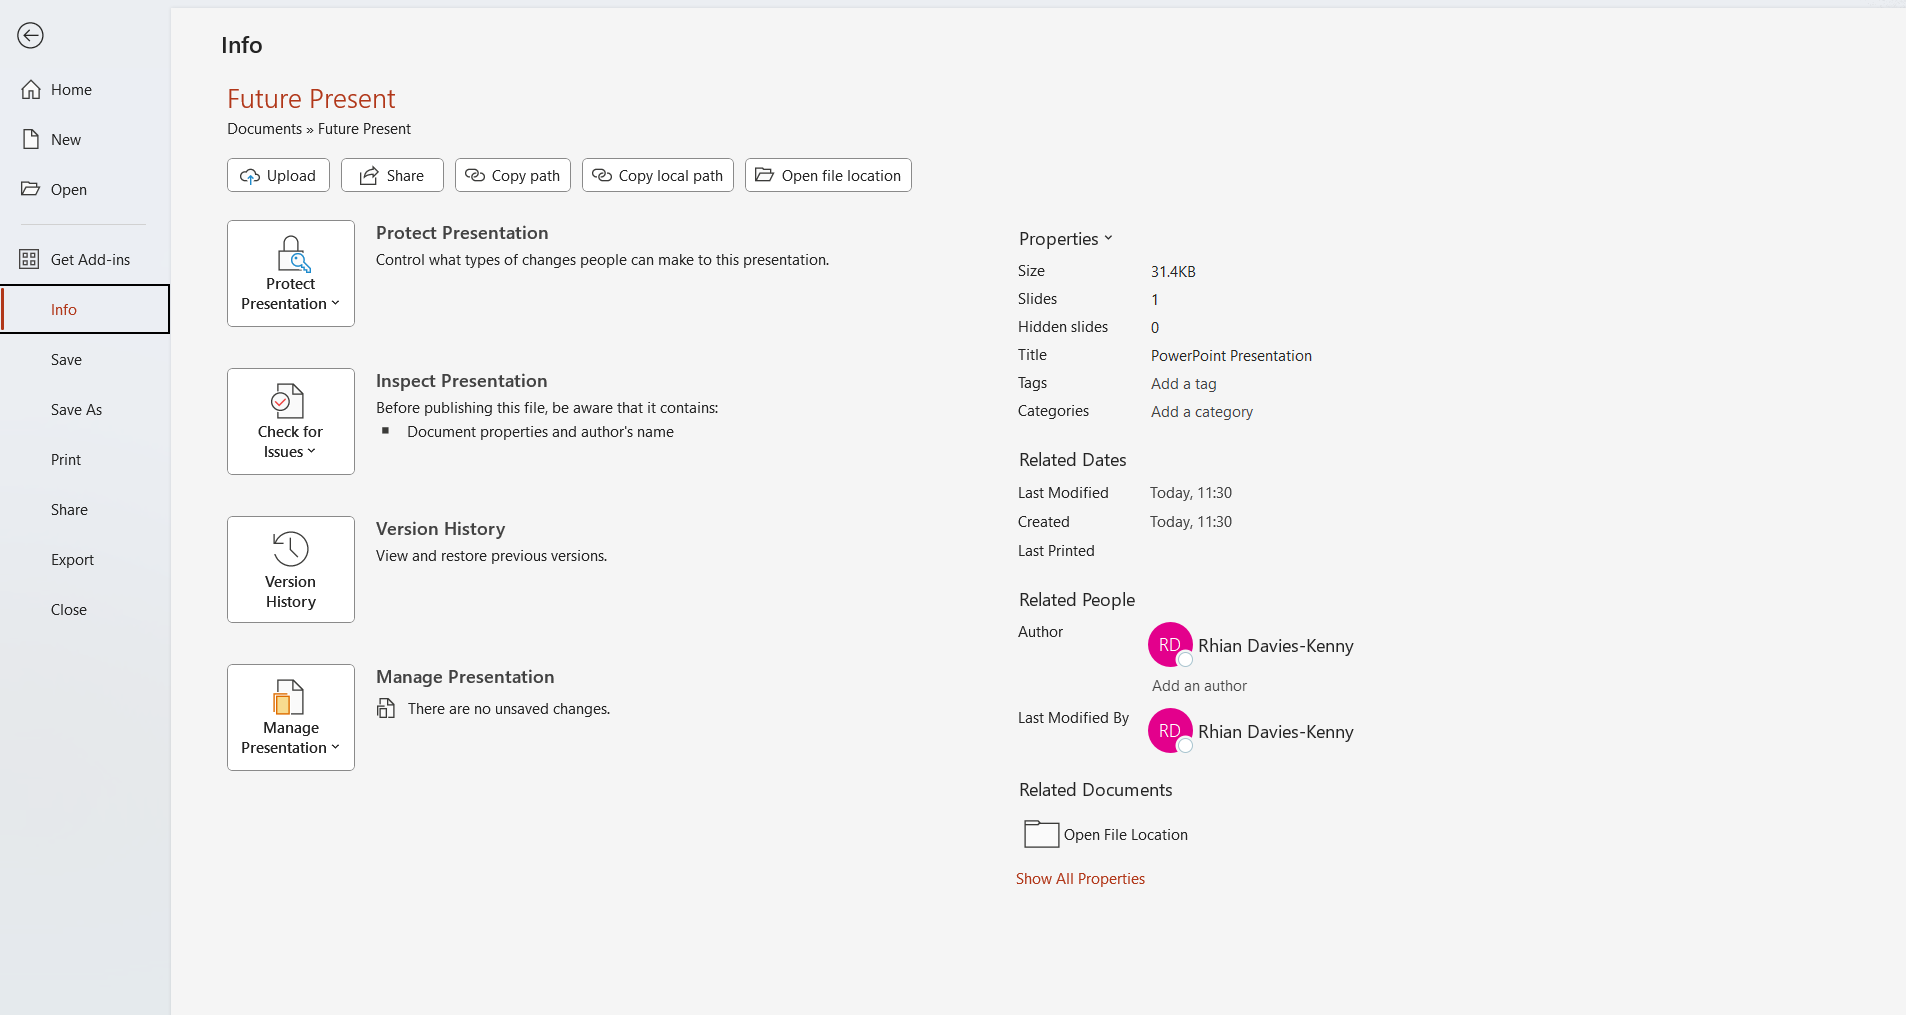
- Open your PowerPoint presentation and head to File > Info
- Click on Protect Presentation and select Encrypt with Password
- Enter your desired password into the dialogue box that opens, and voilà! Your PowerPoint is now password protected
Note to self: Passwords in PowerPoint can’t be recovered if you forget them. Make sure to keep close track of which files are protected with which passwords.
Here’s how to set a password on a Mac:
- Open your PowerPoint, tap File at the top and find Passwords in the drop-down
- Click that and then select Password to open
- Done and dusted. Enter your password into the box that appears and confirming it by entering it again
Whether you’re on a PC or a Mac, the file is now fully locked down. Handle handing that password out with care, and make it clear: this code’s not for sharing.
Stop accidental changes
If you’re password protecting your PowerPoint presentation, it probably means you won’t be around when it’s opened. You can add another layer of protection to ensure nobody accidentally fiddles with it, changing (and potentially ruining) your masterpiece.
PowerPoint lets you open files in read-only mode. This stops any impromptu design edits by any click-happy viewers.
Here’s how to set a PowerPoint file as Read-Only on a PC:
- Go back to File > Info > Protect Presentation
- Click on Always Open Read-Only
Here’s how to set a PowerPoint file as Read-Only on a Mac:
Mac users get a slightly more secure way of protecting against accidental changes in a PowerPoint file.
- Navigate to the same place you set the password protection for the entire file
- Select Password to modify and give it a click
- Enter the desired password
The next time the PowerPoint presentation is opened, with or without a password, it’ll be set to read-only mode. Changes can still be made, but only after the user intentionally clicks the ‘Edit anyway’ button.
Your presentation: safe, secure and unspoiled
Your PowerPoint might not contain the nuclear launch key codes, but it’s still worth its weight in gold. These easy steps ensure that only the chosen ones lay eyes on it, keeping your exquisite design intact.
Ready to create a presentation that’ll knock their socks off? From slide design that mesmerise to storytelling that astonishes, nobody does presentations like Future Present.
Get in touch with us today to find out how we can help you put together that killer presentation.
Recommended Reading


Don't struggle with your presentations, let us
help you with your next project.
Comments